Tuesday, 16 August 2016

Curtain Fun Fold Card Tutorial

Hello crafty friends,
Hope you all are doing fine. 
These days I'm doing lot of  fun fold cards to make a card album to show my clients. They are awesome and I'm enjoying a lot while doing that. Today I'm back with another fun fold card tutorial. It's Curtain fun fold card with step by step photo tutorial.


Here is the method how I made this card.

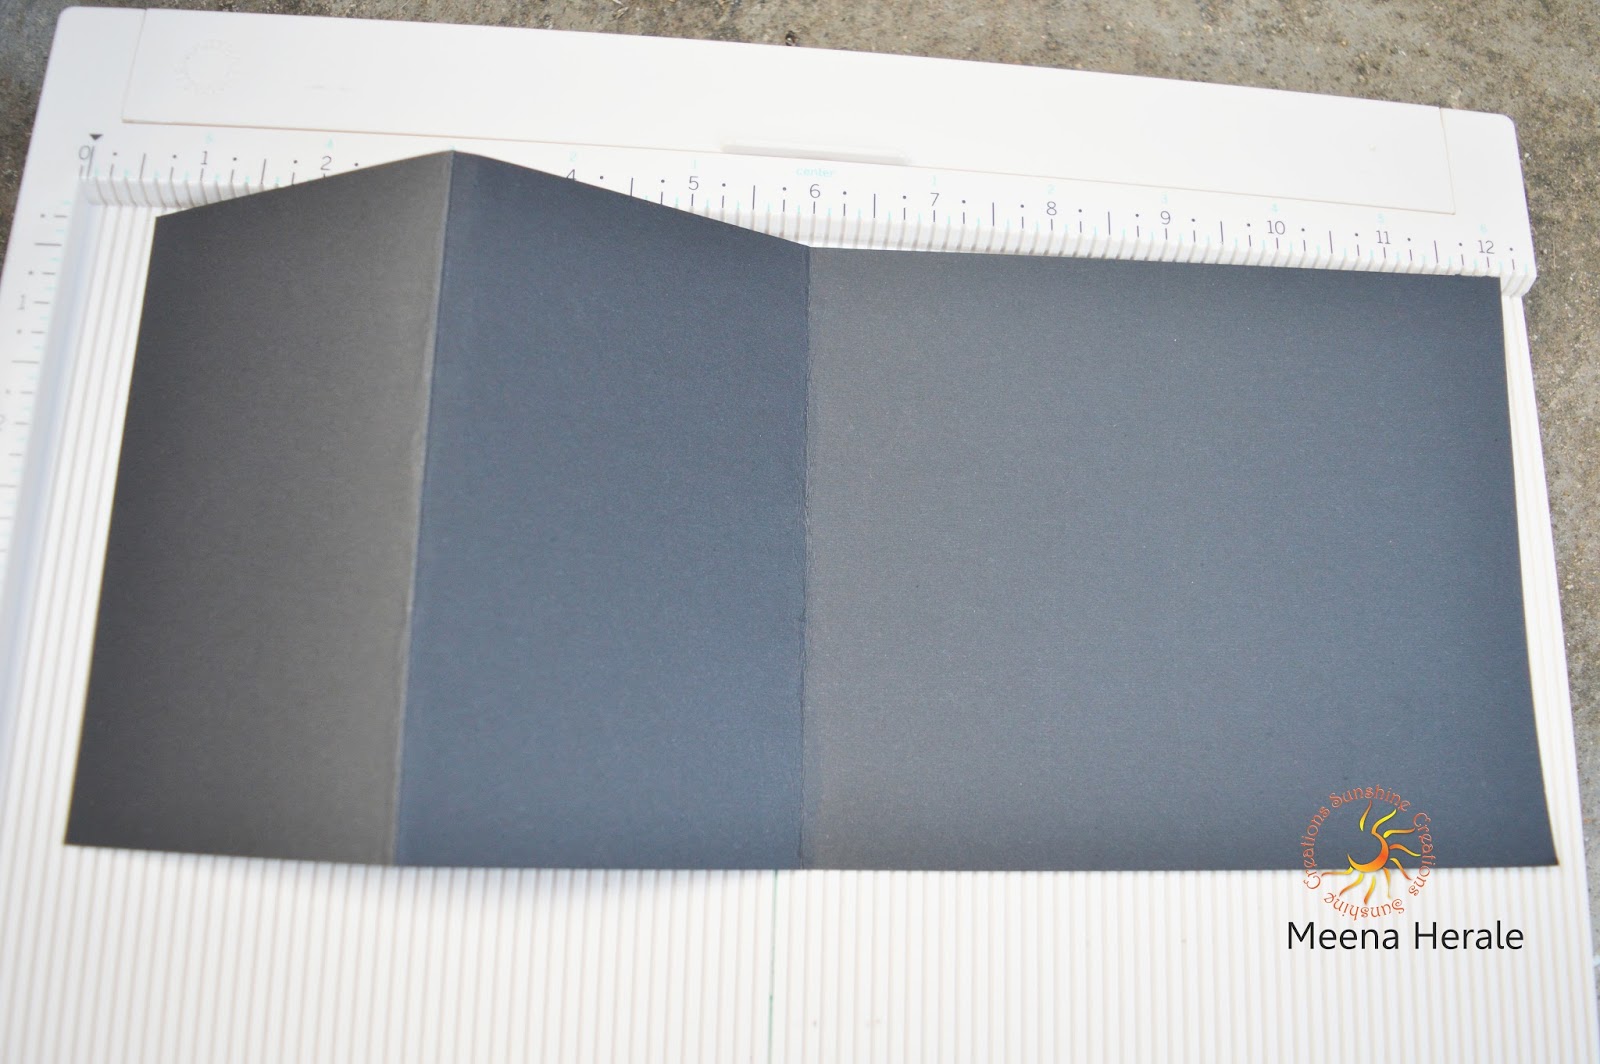
Step 1- Cut 4-1/4'' by 11'' CS for the  card base. Score it at 5-1/2'' and fold it.


Step 2- Cut 5-1/2'' by 12'' double side pattern paper. I din't have double side pattern paper so I used single side pattern paper. 
Now mark 1'' at top from right side and 4-1/2'' at bottom from left side and cut it using trimmer.


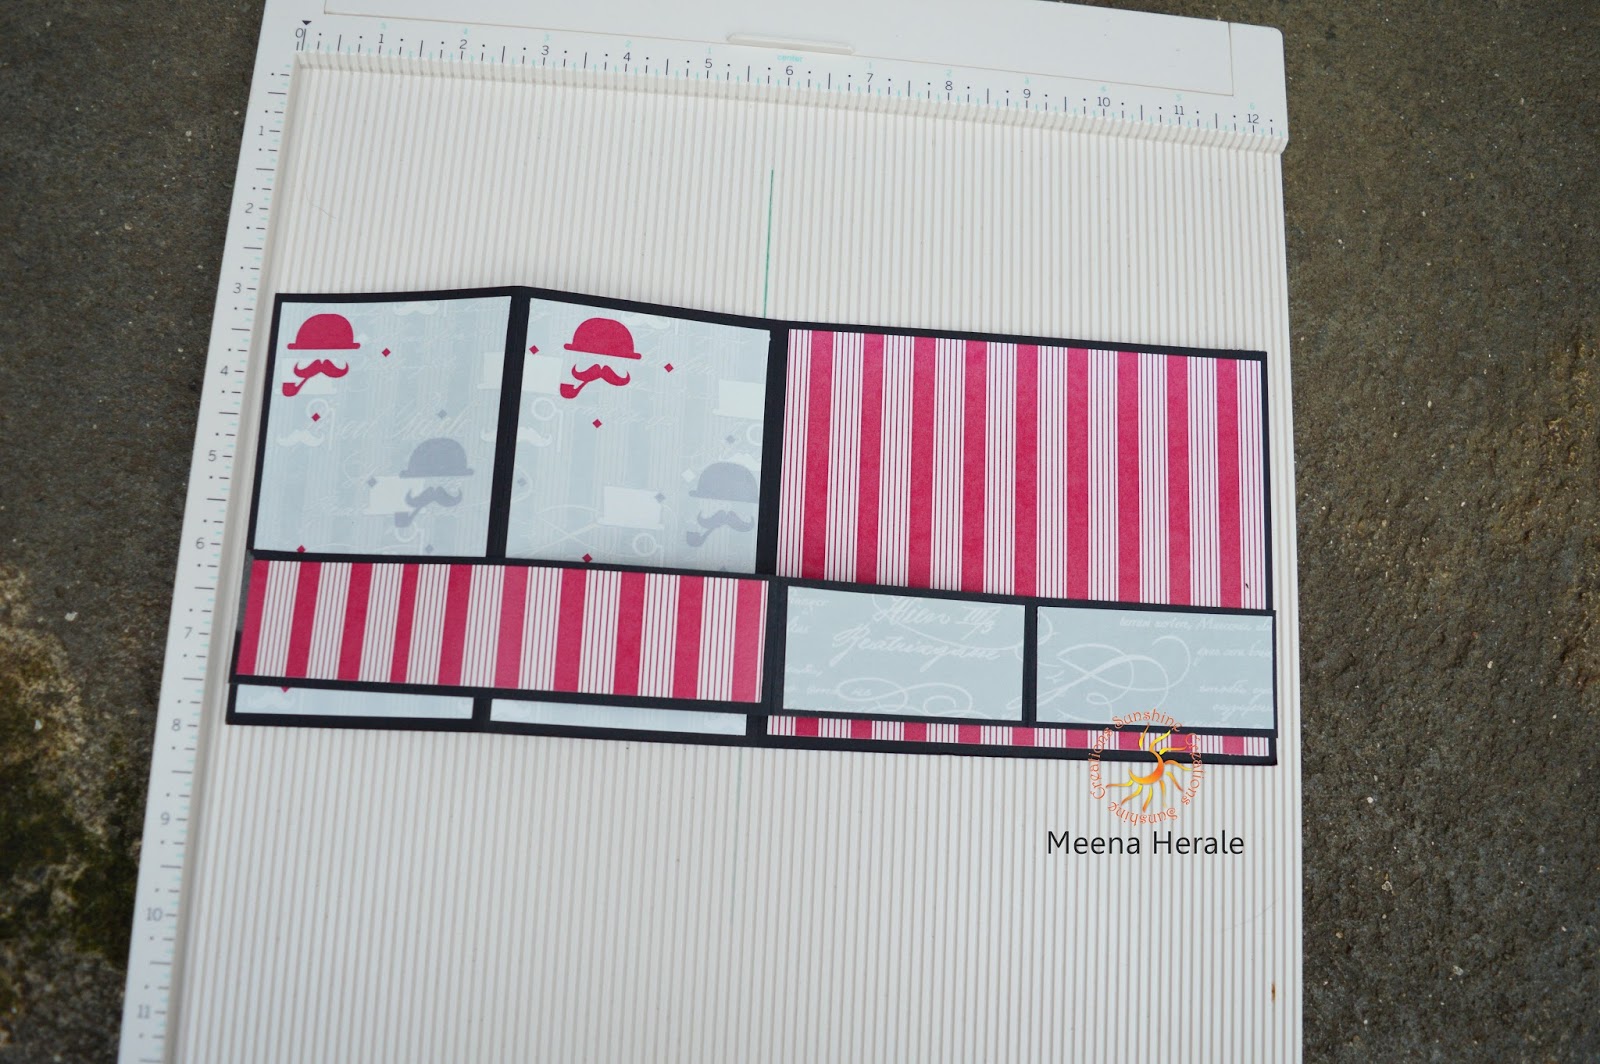
Start scoring at the wide end first with the straight edge across the top. Score at 1'' 3'' 4'' 6'' 7'' 9'' 10'' 11''  and fold it.
After folding, it will look like this.

Step 3- Cut a Vellum CS measuring 4'' by 5-1/4'' and glue the folded pattern paper on it.


Step 4- Mount this on cardstock.


Step 5- Tie a ribbon on the top of the card and glue the flowers. 


For sentiment I used Peek-a-boo stamp set.

If any doubt then please feel free to ask.
Hope you liked my tutorial.

Supplies - Cardstock,
Dusty Swirls from Papericious,
Vellum cardstock, Ribbon, 
Foam flowers, Red tracky tape,
Sequence,
Flowers in jar stamp from Peek-a-boo.

Pixies Snippets Playground Week-242 -
used ribbon snippets


Happy  Crafting

Monday, 8 August 2016

Pop-up Window Z-fold Card

Hello crafty friends,
Hope you all are doing well. Today I tried one more fancy fold card. Had a little problem while doing this card but final result came super as I planned.
I made this card to gift my childhood friend. Our friendship is 33 years old now.


Today again I madde a photo tutorial of this card.

Here is a  step by step tutorial

Step 1- Cut a cardstock measuring 4 1/4'' by 11''. Score at 5 1/2'' and fold it.


Step 2- Cut a white cardstock measuring 2'' by 10''. Score it at 4 and 8 and fan fold it.


Step 3- Cut a pattern paper measuring 4'' by 5 1/4'' for matting and glue it on card base.


Step 4- I die-cut the front of the card using Spellbinders Labels 10 to make a window.


Step 5- Now cut two pieces of 1 3/4'' by 2 3/4'' and glue it on 2'' by 10'' piece.


Now glue this inside the card. 

Step 6- Finally embellish the card using die-cut.


Finally the card is  ready.


Hope you liked it. 
If you have any doubt then please feel free to ask.

Supplies- Mi Estilo collection from Papericious
Dark Maroon cardstock
White cardstock
Red tracky tape
Spellbinders Labels 10

Happy Crafting

Sunday, 7 August 2016

Double Z-Fold Card Tutorial

Hello Friends,
Today I'm back with another tutorial. I saw a picture in Pinterest of a card few days back and wanted to try it. So here is that card which I made after seeing that. Later thought of making a tutorial on it and here is the tutorial of this Z Fold card. 


Z Fold Cards

On 17th August we are celebrating Raksha Bandhan so I made these 2 masculine cards. Raksha Bandhan is a festival of Brother and Sister's lovely relationship.

Z Fold cards

Step by step photo tutorial

Step 1 - Cut a 12'' by 5'' from black cardstock. Now score it at 3 and 6 and fan fold it.


Step 2 - Cut another piece og measuring 12' by 1 1/2'' from black cardstock. Now score at 6 and 9 and fan fold it.


Step 3 - Now cut pattern paper little smaller then the black cardstock and glue them on black cardstock. Here I used The Gentleman collection from Papericious.


Step 4 - I embellished the cards with die-cuts and circle collage sheet from Papericious. 


Finally the cards are ready.


Hope you liked this tutorial.
If any doubts then feel free to ask.


Suplies - Black cardstock,
The Gentlemen collection from Papericious,
Red tracky tape,
Circle collage sheet from Papericious.

Linking to - 
Paru's Cardmaking Challenges August - Family
Simon Says Stamp Monday Challenge- Celebrate

Pixies Snippets Playground Week 241 
Happy Crafting