Showing posts with label Tutorials. Show all posts

Friday, 18 November 2022

Time To Travel Art Journal

Hello my dear lovely crafty friends. Welcome back to my blog. 


A very warm good morning to you all. Hope everyone is good and staying safe. 


Welcome back to My Time To Craft Challenge and this fortnight our theme is Transportation. 

After long period, I have created a video tutorial for this art journal with mom's help. 


I have created a very simple page. To know  how I created this journal page click HERE. Hope you all like it. 


If you like it then please leave comment on my video and like it.


Please do leave me feedback so that I can improve myself more.


Happy Crafting and Stay Safe 


Created by 

Meenaa Gauthami Herale 

A Bedridden Artist 

Monday, 2 November 2020

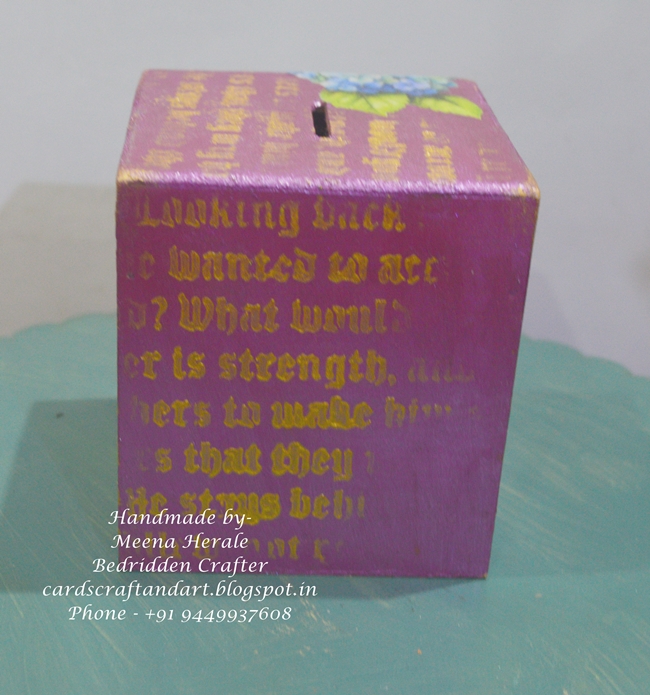
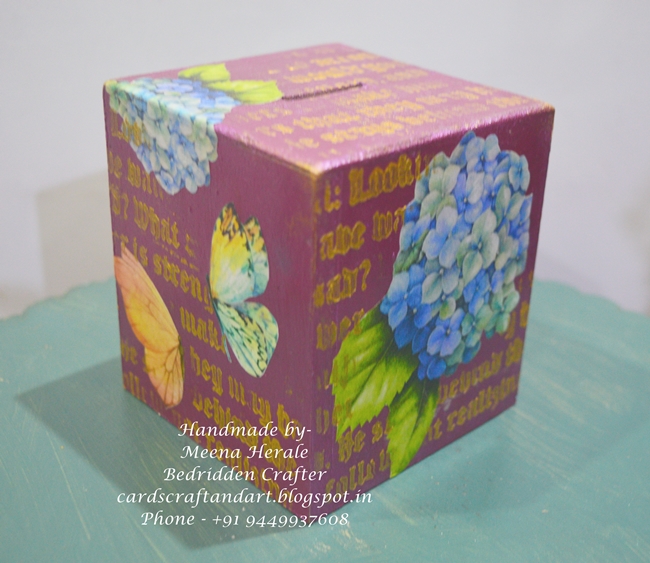
Floral Piggy Boxes

 Hello my lovely crafty friends, Welcome back to my blog.

A very warm good morning to you all. How is the weather at your place?? Hope you all are doing good and staying safe.


Today I'm sharing another decoupage work and this time its a Money/Piggy boxes. Its a lengthy post so grab your coffee and relax and enjoy it.


  • First sand the whole box with sanding block.
  • Next apply mettalic chalk paint all the side and air dry it.
  • Next apply decopage cut out using mod podge on the boxes where you want. Let it air dry.
  • Once it dry, take stencil and do stenciling using stencil brush, don't take tomuch of paint on brush, it will spoil your work. Let it air dry.
  • Next give 2 coats of glosy varnish on all sides to protect from dust, fungus, etc.
Here are few close up photos of it,


Hope you like it, please do leave feedback so that I can improve myself.

Happy Crafting, Stay Safe

Handmade by
Meena Herale Gauthami
Bedridden Crafter

Monday, 3 February 2020

Get Creative Challenge #88

Hello my lovely crafty friends, Welcome back to my blog again.
A very warm good evening to you all. How are you all doing?? How is the weather at your place??

Today I'm sharing my first DT project of this year at Get Creative Challenge. Today I'm going to share a simple tutorial on RAINBOW scrapbook layout using the digi by our lovely sponsor. This month our theme is Anything Goes With HEARTS


Step by step photo tutorial -

Step 1 - Take print of digi on watercolour paper.


Step 2 - Colour the digi using CrafTangles liquid watercolours and fussy cut them.


Step 3 - Take a 12 by 12 inches watercolour paper and using wet on wet technique I started to add colour one by one drying in between each layer.


Step 4 - I took my first birthday photo and using heart shape die I die cut my photo and one silver glitter cardstock in bigger size so that I can mat my photo. Here I took black and white photo to break the dark colours.


Step 5 - Die cut few leaves using Heartfelt Creations leafy accent die and hanging heart using Fantasy die.


Step 6 - Next I started to arrange everything on layout and when I was happy with it, I started to adhere everything using liquid glue.


Hope you like it and please do leave me feedback so that I can improve myself. 

Happy Crafting 

Friday, 20 January 2017

Scrapping4Fun Challenge #82 - Spots & Dots

Hello crafty friends,
A very warm good morning on this cold winter to you all.
Its friday again and we are back with a new challenge on Scrapping4fun challenge blog. This time the theme is Spots and Dots


Our sponsor for challenge #82 is Lemon Shortbread


I altered my planner using the theme and digi image.


I have made a small tutorial on how I altered it. Check the tutorial below and material list in the video.


Hope you will like it.

Thank you for visiting my blog.

Happy Crafting.

Sunday, 4 September 2016

How To Make A Bow Using WRMK Envelope Punch Board

Hello crafty friends,
From few months I wanted to buy an envelope punch board and finally last week I brought. Did some expreriment with that. 
As I don't have bow die, I tried to make bow using WRMK envelope punch board by watching from YouTube.

Here is a photo tutorial of it.

Bows

Step by step tutorial.

Step 1
Cut a piece of PP measuring 1'' by 10''.


Step 2
Punch the papers as shown in the photo.


Now turn the  paper and punch it on that side also.


It will look like this after punching both side.


Step 3
Now keep the paper strip in punch board in horizontal at 2'' and punch it.


Now punch at 5''.


Turn it to backwards and again punch at 2''.


Do the same to another side also.


After punch it will look like this.


Step 4
Now fold little at 1st punch and 3rd punch.


Step 5
Now take a pen or pencil and curl the paper strip and add glue dots or red tracky tape like shown in the photo. 


Step 6
Now join the both the tails like this.


It will look like this after turning.


Gave a finnal touch it by adding bling, small rose, small butterfly.


Hope you like it. If any doubts then feel free to ask.

Supplies - WRMK Envelope Punch Board
Pretty Basics Collection from Papericious
Bling, Roses,
Red tracky tape

Linking to - Papericious August Challenge Anything

Thank you for visting for my blog.

Happy Crafting.

Tuesday, 16 August 2016

Curtain Fun Fold Card Tutorial

Hello crafty friends,
Hope you all are doing fine. 
These days I'm doing lot of  fun fold cards to make a card album to show my clients. They are awesome and I'm enjoying a lot while doing that. Today I'm back with another fun fold card tutorial. It's Curtain fun fold card with step by step photo tutorial.


Here is the method how I made this card.

Step 1- Cut 4-1/4'' by 11'' CS for the  card base. Score it at 5-1/2'' and fold it.


Step 2- Cut 5-1/2'' by 12'' double side pattern paper. I din't have double side pattern paper so I used single side pattern paper. 
Now mark 1'' at top from right side and 4-1/2'' at bottom from left side and cut it using trimmer.


Start scoring at the wide end first with the straight edge across the top. Score at 1'' 3'' 4'' 6'' 7'' 9'' 10'' 11''  and fold it.
After folding, it will look like this.

Step 3- Cut a Vellum CS measuring 4'' by 5-1/4'' and glue the folded pattern paper on it.


Step 4- Mount this on cardstock.


Step 5- Tie a ribbon on the top of the card and glue the flowers. 


For sentiment I used Peek-a-boo stamp set.

If any doubt then please feel free to ask.
Hope you liked my tutorial.

Supplies - Cardstock,
Dusty Swirls from Papericious,
Vellum cardstock, Ribbon, 
Foam flowers, Red tracky tape,
Sequence,
Flowers in jar stamp from Peek-a-boo.

Pixies Snippets Playground Week-242 -
used ribbon snippets


Happy  Crafting