Monday 8 August 2016

Pop-up Window Z-fold Card

Hello crafty friends,
Hope you all are doing well. Today I tried one more fancy fold card. Had a little problem while doing this card but final result came super as I planned.
I made this card to gift my childhood friend. Our friendship is 33 years old now.


Today again I madde a photo tutorial of this card.

Here is a  step by step tutorial

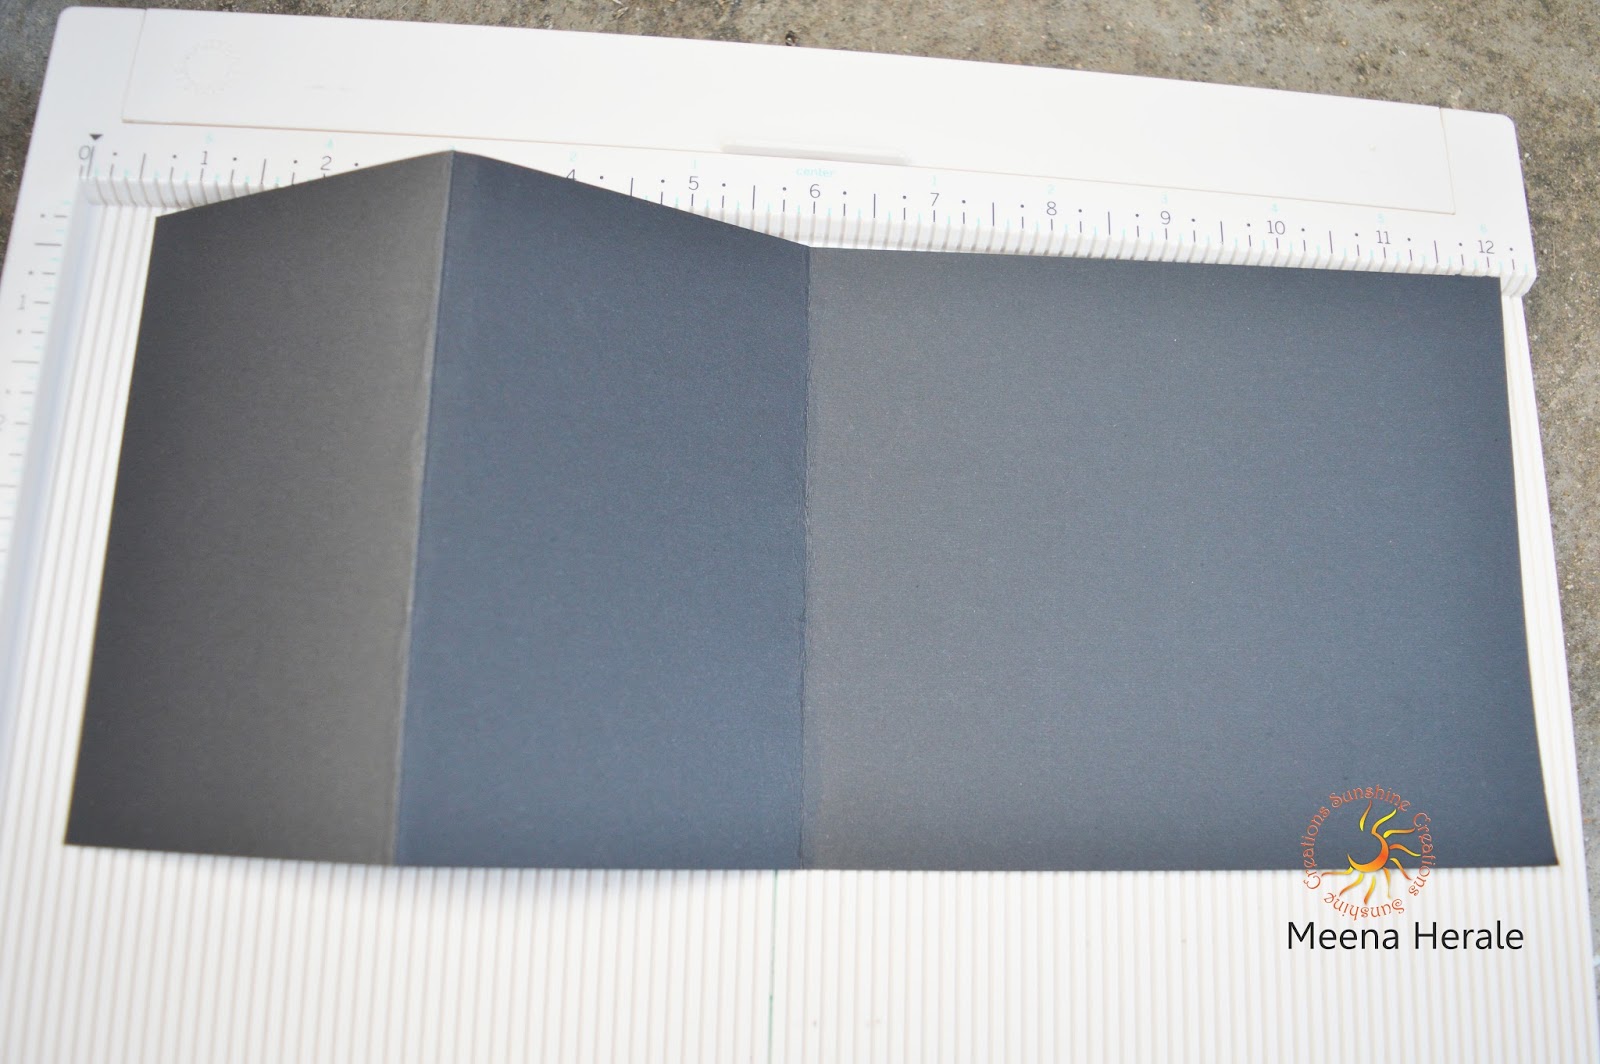
Step 1- Cut a cardstock measuring 4 1/4'' by 11''. Score at 5 1/2'' and fold it.


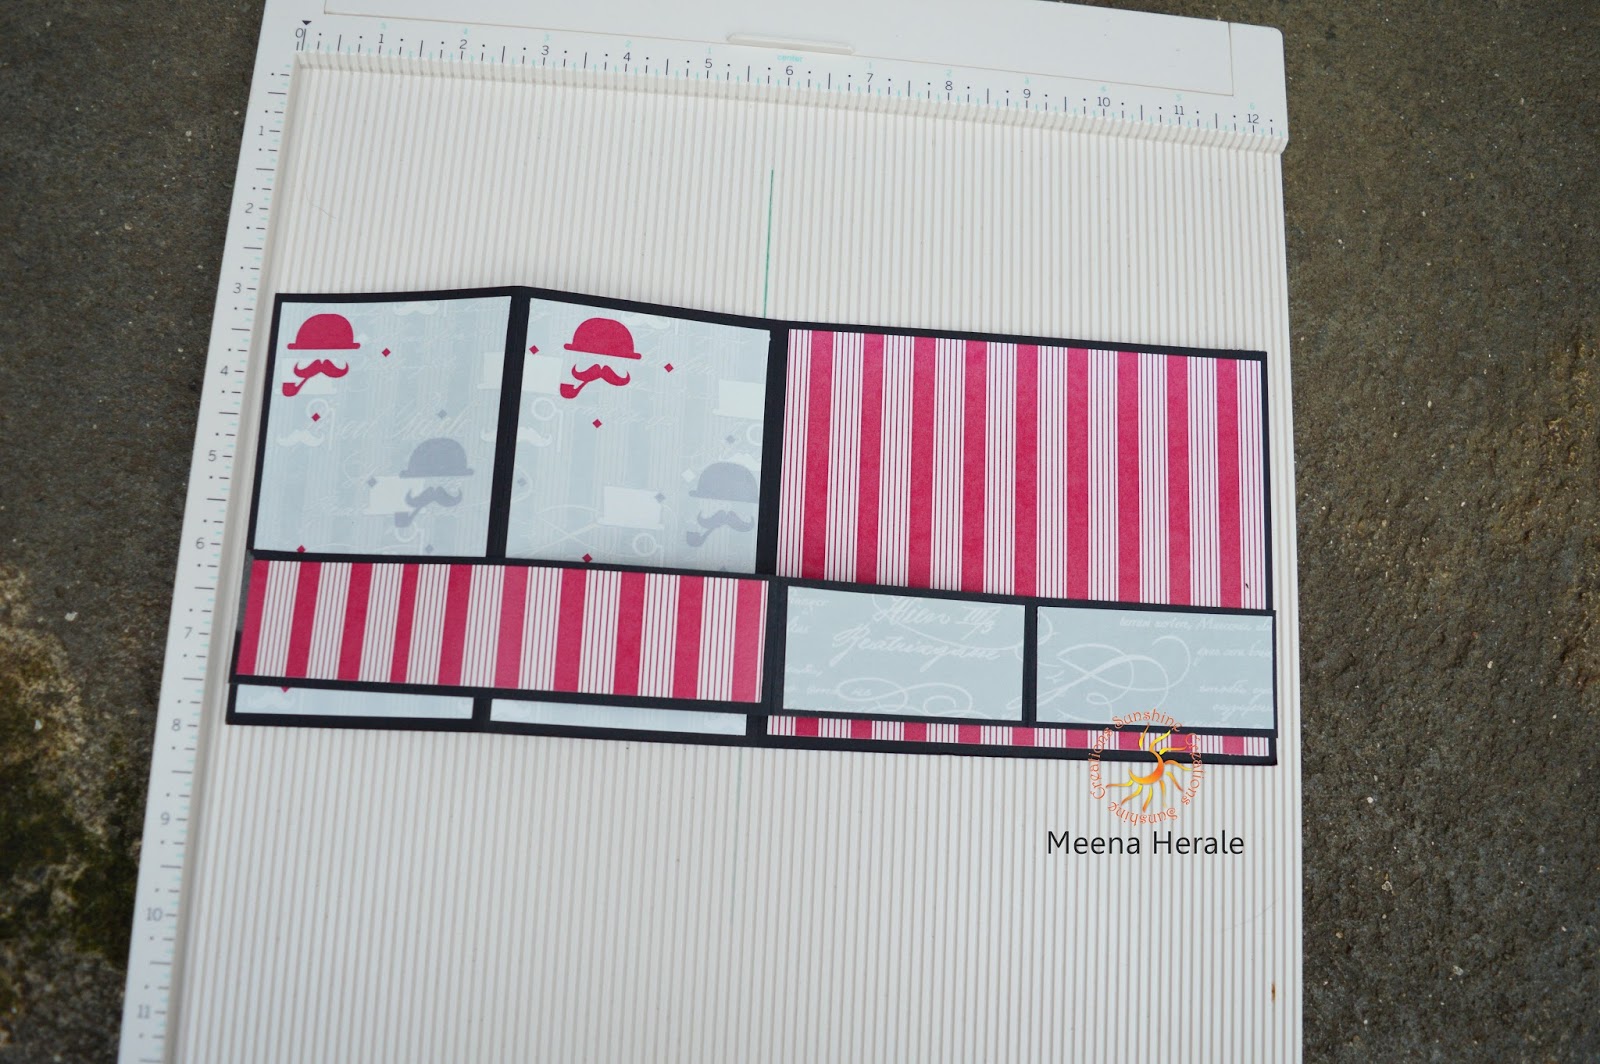
Step 2- Cut a white cardstock measuring 2'' by 10''. Score it at 4 and 8 and fan fold it.


Step 3- Cut a pattern paper measuring 4'' by 5 1/4'' for matting and glue it on card base.


Step 4- I die-cut the front of the card using Spellbinders Labels 10 to make a window.


Step 5- Now cut two pieces of 1 3/4'' by 2 3/4'' and glue it on 2'' by 10'' piece.


Now glue this inside the card. 

Step 6- Finally embellish the card using die-cut.


Finally the card is  ready.


Hope you liked it. 
If you have any doubt then please feel free to ask.

Supplies- Mi Estilo collection from Papericious
Dark Maroon cardstock
White cardstock
Red tracky tape
Spellbinders Labels 10

Happy Crafting

Sunday 7 August 2016

Double Z-Fold Card Tutorial

Hello Friends,
Today I'm back with another tutorial. I saw a picture in Pinterest of a card few days back and wanted to try it. So here is that card which I made after seeing that. Later thought of making a tutorial on it and here is the tutorial of this Z Fold card. 


Z Fold Cards

On 17th August we are celebrating Raksha Bandhan so I made these 2 masculine cards. Raksha Bandhan is a festival of Brother and Sister's lovely relationship.

Z Fold cards

Step by step photo tutorial

Step 1 - Cut a 12'' by 5'' from black cardstock. Now score it at 3 and 6 and fan fold it.


Step 2 - Cut another piece og measuring 12' by 1 1/2'' from black cardstock. Now score at 6 and 9 and fan fold it.


Step 3 - Now cut pattern paper little smaller then the black cardstock and glue them on black cardstock. Here I used The Gentleman collection from Papericious.


Step 4 - I embellished the cards with die-cuts and circle collage sheet from Papericious. 


Finally the cards are ready.


Hope you liked this tutorial.
If any doubts then feel free to ask.


Suplies - Black cardstock,
The Gentlemen collection from Papericious,
Red tracky tape,
Circle collage sheet from Papericious.

Linking to - 
Paru's Cardmaking Challenges August - Family
Simon Says Stamp Monday Challenge- Celebrate

Pixies Snippets Playground Week 241 
Happy Crafting