Saturday 23 July 2016

A New Day

Hello Friends,
I made 2 cards using two watercolor medium. 


For the first card I used Distress crayons that to for the first time.


I have used Wplus9 stamp set for both the card. 

For second card I colored with Zig clean color brush pen.


After coloring both the cards I used Wink of Stella for shimmer look.

Hope you liked it.

Happy Crafting.


Thursday 21 July 2016

Memory Box Album

Hello Friends,
Today I made a Memory Box Album using my favuorite paper Papericius. They have a huge collections of papers. This time I have used their (S)teal The Time Collection

Front of the Album

I embellished the front cover with handmade flowers and used ribbon to tie.


Inside the album I have made pockets to hold the tags.


I have made a waterfall panel on the base of the album.


These are the tags I made for the album.

Hope you liked it.

Happy Crafting.

Tuesday 19 July 2016

Bookmarks

Hello Friends,
This week I have planned to make few bookmarks so here is what I made yesterday & today.


Did watercoloring using Faber-castell pencils and Zig clean brush pens.
Used Wplus9 stamp and Altenew stamp.

Hope you liked it.

Happy Crafting

Monday 18 July 2016

My Darling Sister

Fairies are real....
I have one...
She calls herself,
My Sister.......

Hello Friends,
Do you guys fight with your sibblings??
I do....but at the same time I love her a lot. 
I can call her as my second mom.
In childhood we used to fight a lot but now we have become to close. She is always there for me. She can't see tears in my eyes. She always try to bring happiness in my life. 
Next month is her birthday so I wanted to gift her something different as every year. So I made this layout for her birthday.

My Elder Sis

Take a 12*12 pattern paper from Papericious & mouted 11*11 on top of it. Here I have taken Violet, grey & orange color. 


For this work I watercolored few flowers from Altenew stamp and fussy cut it.


First I arranged the flowers on layout few times to see where it fit well. When I finalised I glued them using red tracky tape and foam to give 3D effect.

Next I added few circle die cut from Papericious collage sheets. They have good collections of it.
Added a metal embellishment with baker twine.


I stamped a sentimennt in Neon purple using HOTP stamp set.


To highlight the work I did  splatter using black watercolor.

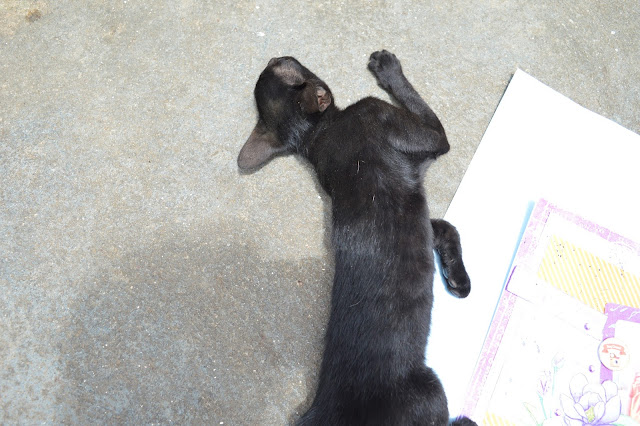
While taking photos of this work few furry little brats of mine came for there photo shot. These are my 3 cute kittens.


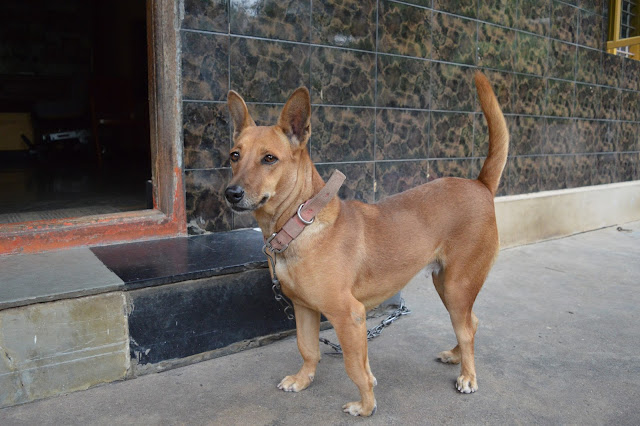
And my another furry baby also came for her photo shot.


Hope you liked it.


Supplies - Violet Script collection & Pretty Basics collection from PAPERICIOUS.
Stamp- Magnolias For Her from Altenew.
Brustro watercolor paper.
Be You circular collage sheet and Snap It!! circular collage sheet ffrom PAPERICIOUS.


Happy Crrafting


  Linking to - 

Sunday 17 July 2016

Smash Book Tutorial

Hello Friends, 
Today for the first time I'm posting a step by step tutorial. I have tried to do my best. I was little scared while doing this because it was out of my comfort zone. I have made the tutorial of a Smash book.

SMASHBOOK

Step by step tutorial -

Step 1 - Cut a 10*7 inch cardstock. I have usedd black CS. 


Step 2- Take 2pcs of  ribbon and attach it on front as shown in pic.


Step 3- Glue the pattern paper on the front so that the glued ribbon can hide. I made a punch hole and added a brads on it.


Step 4- Now I have glued the patter paper on backside of the base.


Step 5- Cut 2pcs of big vertical pannnel measuring 7 3/4" by 3 1/2" and score 10mm on top & bottom of the pannel. Now glue the vertical pannel on the back of base as shown in pic. Add pattern paper on it.


Step 6- Now cut 3 vertical pocket measuring 5 1/4" * 3 1/4" (1pc), 4 1/4" * 2 3/4"(1), & 3 1/2" * 2 1/2"(1) & cut 3 pattern papers to glue on them as show in pic.


Now mount this pocket on left side of the book as shown in pic.


Step 7- Now cut 3 horizontal pocket pcs measuring 4 1/4" * 2 1/4" and do the same as privous step. See the pic for refence.


Step 8- Finally made few tags for the book. 


Finally arranged the tags on the pockets and Smashbook is ready.
If any doubt then please let me know.

Hope you liked it.

Supplies - Black cardstock,
Vintage Rosewood collection from Papericious,
Paper designer papers,
Ribbon, Brads, Flowers, Pearls,
Red tracky tape.

Happy Crafting